Switching from Synology’s WordPress end-of-life package to Web Station

I installed the WordPress package when setting up my Synology NAS, it’s been running without fault for years but due to lack of package updates has reached end of life. Time to migrate to Web Station!

The WordPress package maintained by Synology is locked to PHP 5.6 and Apache HTTP Server 2.2 meaning there’s no upgrade path for either PHP or Apache HTTP Web Server.

Here’s how to migrate from the Synology WordPress package to Web Station:

  1. Connect to DSM and log in as an Administrator, or user with read/write access to Web Station files at /web/ as well as the following DSM Apps
    • File Manager
    • Package Centre
    • Web Station
  2. Open File Station and navigate to the /web/wordpress/ directory
  3. Copy the /web/wordpress/ directory contents to a new temporary directory away from Web Station (e.g. /backup/wordpress/…)
  4. Open Package Centre
  5. Search for “Apache” and install the Apache HTTP Server 2.4 package
  6. Search for “PHP” and install the PHP 7.3 package
  7. Open Web Station
  8. From the Status tab ensure that both Apache HTTP Server 2.4 and PHP 7.3 are listed within the Back-end Packages section and marked as Installed.
  9. Switch to the PHP Settings tab
  10. Create a new Profile by clicking the Create button, set the following fields within the popup dialog:
    • Profile Name: Default profile
    • Description: Default PHP 7.3 profile
    • PHP version: PHP 7.3
    • Enable PHP cache
    • Select any PHP extensions you require, if unsure check against the default extensions already enabled from the default PHP 5.6 profile on the PHP Settings tab
    • Click OK to create the new Profile
  11. Switch to the Virtual Host tab
  12. Create a new Virtual Host by clicking the Create button, set the following fields within the popup dialog:
    • Hostname: wordpress
    • Port: 80 / 443
    • Document root: Click the Browse button and navigate to the /web/wordpress/ directory
    • HTTP back-end server: Apache HTTP Server 2.4
    • PHP: Default Profile (PHP 7.3)
    • Click OK to create the new Virtual Host
  13. Open Package Centre
  14. Search for “WordPress” and select Uninstall from the Actions dropdown
  15. Accept the confirmation prompt that you wish to uninstall this package
  16. When prompted if you wish to delete the WordPress database leave the tickbox unchecked and do not fill the database login fields; we want to keep the existing WordPress database
  17. Click Uninstall to remove the WordPress package
  18. Open File Station and copy the temporary backup directory (e.g. /backup/wordpress/…) back to /web/wordpress/
  19. Open Web Station and switch to the Virtual Hosts tab
  20. Ensure that the Sub-folder Name column for the wordpress Virtual Host is still set as /web/wordpress, if this is blank edit the Virtual Host and re-link it to /web/wordpress/
  21. That’s it!

Open up your browser and navigate to your WordPress site to confirm the migration was successful. You can now change the HTTP back-end server and PHP version at any time via Web Station! Pretty nifty. 🙂

Working Windows 10 tutorial for the Dell XPS 15 9550 + Razer Core X + GeForce GTX 970

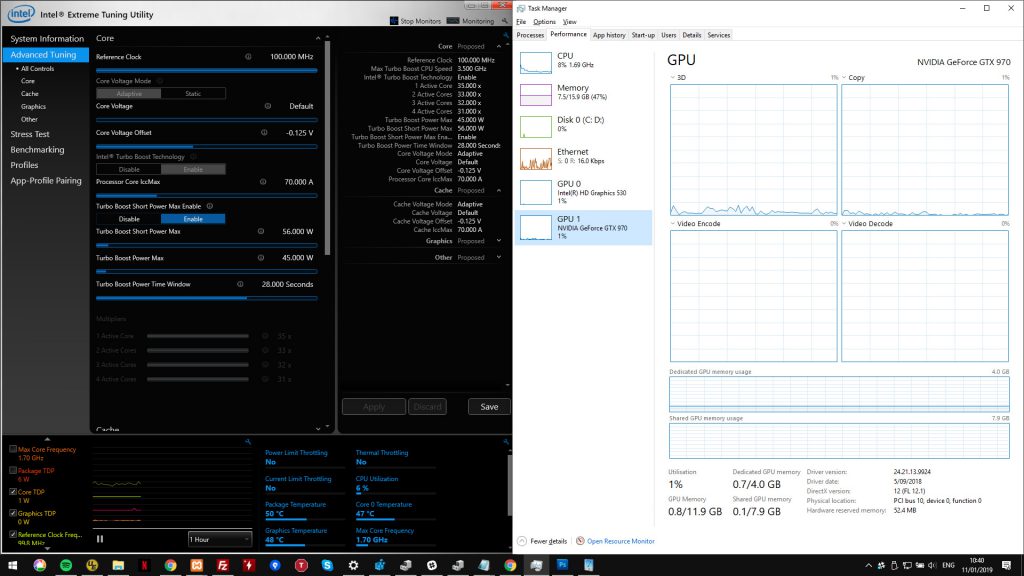
I’ve been researching eGPU’s and compatibility with the Dell XPS 9550 for over a year and started 2019 committed to purchasing the Razer Core X eGPU enclosure and Gigabyte GeForce GTX 970 to resolve the thermal throttling and fan noise issues affecting the XPS series when used as a workhorse or gaming Ultrabook.

Getting it to work through trial and error sucked. Driver conflicts.
Conflicting device resources. BIOS firmware updates. Thunderbolt firmware updates.

This walkthrough should save you the frustration I went through.

The end result is fantastic! Here’s the benefits:

  • Dramatically lowered thermal profile for the XPS 15 even with the lid closed; no more throttling!
  • No fan noise coming from the XPS 15 even when under load (CSGO, video encoding, heavy Chrome GPU usage)
  • Didn’t need to apply thermal pads to MOSFET’s or re-paste the CPU and GPU
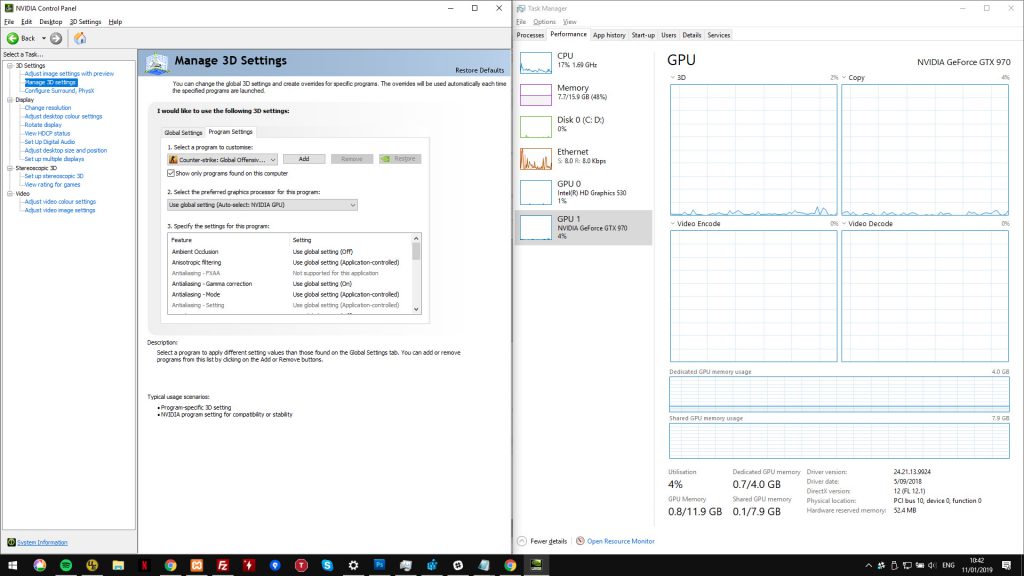
  • Consistently better framerate without thermal throttling when playing CSGO and improved responsiveness in general usage across multiple screens (2 x Dell U2414H 24″ monitors)

Here’s the walkthrough:

  1. Seat the GeForce GTX 970 in the Razer Core X enclosure
  2. Connect power to the Razer Core X enclosure
  3. Do not connect any USB devices to your monitors yet. *1
  4. Do not connect the Razer Core X USB C cable to the XPS 15 9550 yet. *2
  5. Run Windows Update and ensure recent updates have been applied
  6. Restart Windows if any updates were installed
  7. Ensure the following Dell software packages have been installed:
    • Dell XPS 15 9550 1.9.0 System BIOS
    • Intel Thunderbolt Controller Driver
    • Intel(R) Thunderbolt(TM) 3 Firmware Update
    • Intel Thunderbolt Controller Driver
  8. Restart Windows if any of the above Dell software packages were installed
  9. Install Razer Synapse 2
  10. Install NVIDIA GeForce Experience
  11. Restart Windows if any of the above software packages were installed
  12. Open NVIDIA GeForce Experience and from the Drivers tab install the latest GeForce Game Ready Driver
  13. Restart Windows if required
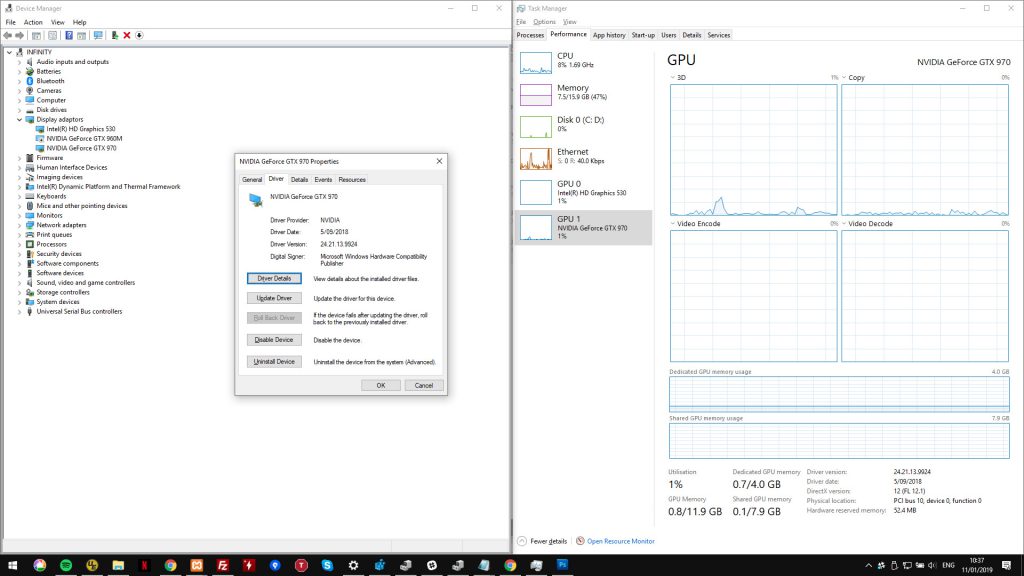
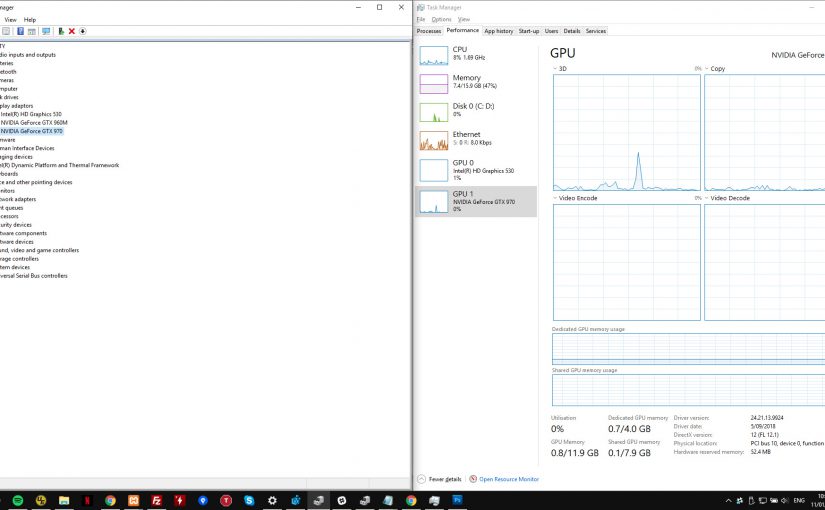
  14. Open Device Manager from the System screen (START + Pause/Break) *3
  15. Expand the Display adapters group
  16. Right click NVIDIA GeForce GTX 960M and select Disable device *4
  17. While keeping the Device Manager window opened with the Display adapters group in focus open the Task Manager (right click the taskbar and select Task Manager)
  18. Within the Task Manager window select the Performance tab to see the GPU 0 item listed under CPU, Memory and Disk 0/Disk 1 *5
  19. Connect the Razer Core X USB C cable to the XPS 15 9550
  20. Over the next 30 seconds you should see the following:
    1. a prompt from Thunderbolt Software to allow device chaining, close it without answering *6
    2. the Device Manager window refresh several times
    3. a new “Unknown VGA device” appear within Device Manager
    4. the “Unknown VGA device” dissapear and be replaced with “NVIDIA GeForce GTX 970”
    5. hopefully no BSOD! *7
    6. the “NVIDIA GeForce GTX 970” device status will change from a question mark, to a notice, to finally a prompt to restart
    7. Do not restart Windows at this point
  21. Right click “NVIDIA GeForce GTX 970” and select Update drivers *8
  22. Within the Task Manager window you should see a new GPU 1 entry showing “NVIDIA GeForce GTX 970”
  23. Shut down Windows with the Razer Core X still connected
  24. Connect your USB devices to your monitors
  25. Start Windows and when prompted by Thunderbolt Software select “Allow connect” for device chaining over Thunderbolt.
  26. Open Task Manager and from the Performance tab ensure that the GeForce GTX 960M is not visible and that the GeForce GTX 970 is visible

That’s it! 🙂

Gallery

*1: Thunderbolt 3 supports USB device chaining but introducing new USB devices before the eGPU is configured and working may introduce new issues.

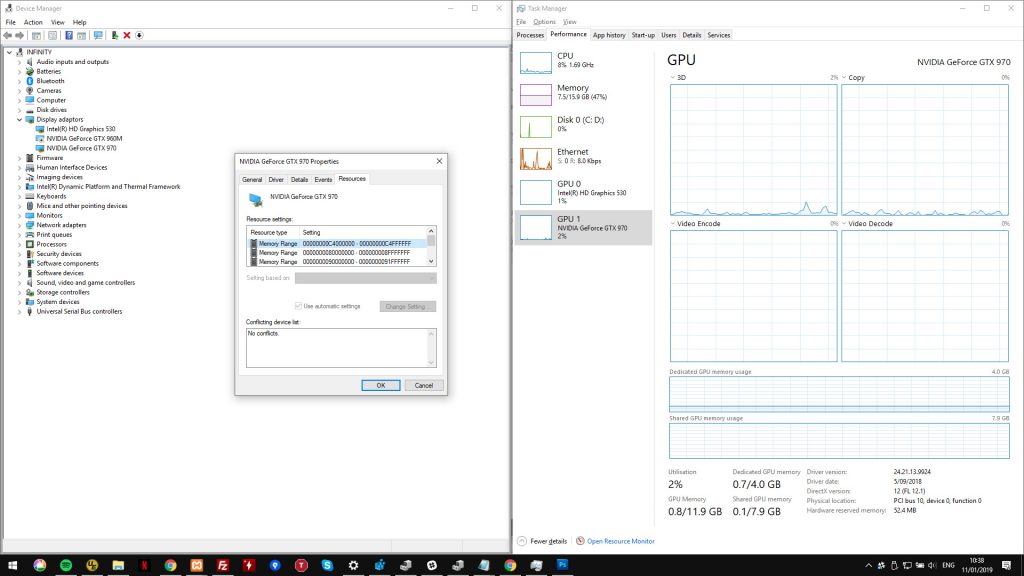
*2: Connecting the Razer Core X to the XPS 15 9550 before having the NVIDIA software ready will result in BSOD’s as the onboard GeForce GTX 960M will conflict with the Core X’s GeForce GTX 970 for the same system resources.

*3: This one’s because I am paranoid. You may be able to skip this step.

*4: Disabling a GPU hardware device is not permanent. I found after each restart that the GeForce GTX 960M was re-enabled.

*5: You may need to double click the graph to expand the view so you can select the Performance tab within the Task Manager window

*6: We will allow all Thunderbolt device chaining once the GTX 970 is working.

*7: If you experience a BSOD when connecting the
Razer Core X ensure that the onboard GeForce GTX 960M is disabled from Device Manager

*8: If the Update driver option is not available disconnect the Razer Core X, restart Windows then follow steps 14 onwards

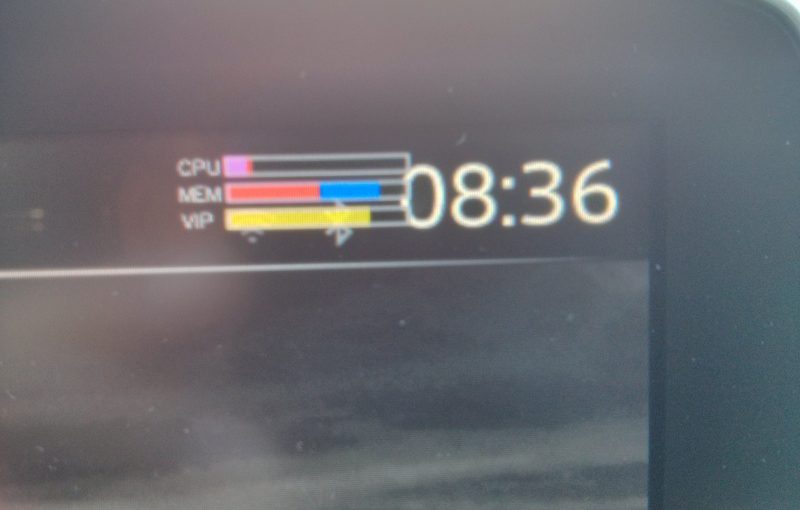
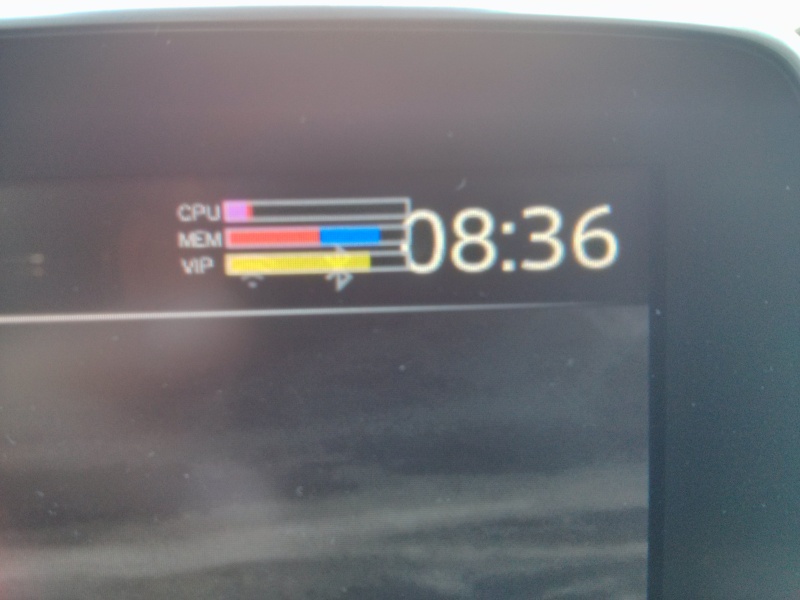
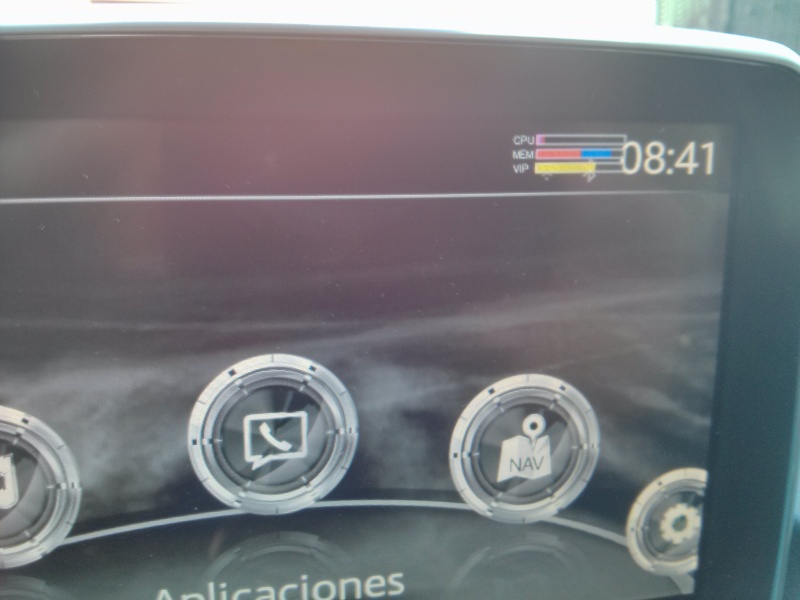
Toggle the System Monitor (CPU and memory) overlay on the Mazda Connect

Displaying the current CPU and memory usage of the Mazda Connect system helps to diagnose audio stuttering and slow screen changes common when using the Maps or third-party Apps (Android Auto, Speedometer, etc.).

Here’s how to toggle the system monitor overlay on the Mazda Connect system:

  1. Hold down Music + Back + Pwr/Mute for several seconds
  2. The system monitor overlay will appear in the top-right corner of the screen
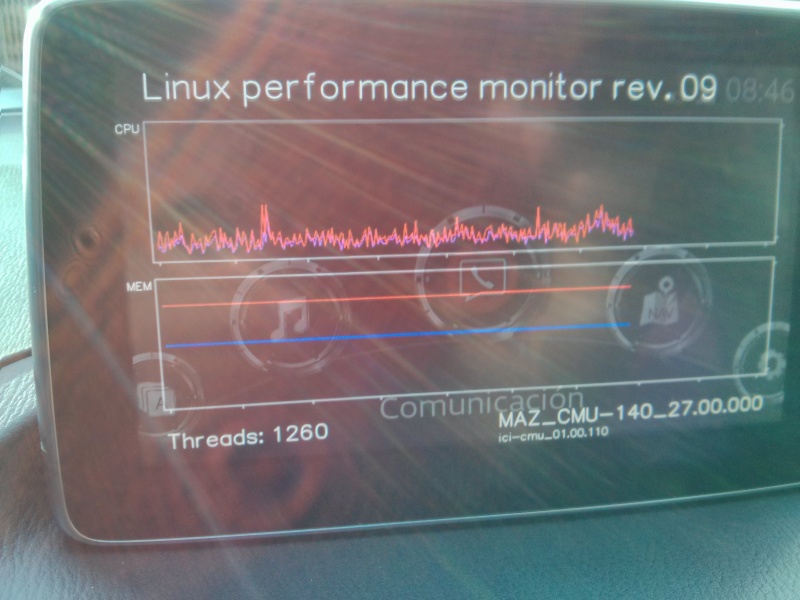
  3. Release the buttons and on the touch screen select and hold the overlay element for several seconds to show the Linux performance monitor
  4. To hide the Linux performance monitor and system monitor overlay hold down  Music + Back + Pwr/Mute for several seconds

That’s it 🙂

Gallery

Source: Mazda3Revolution

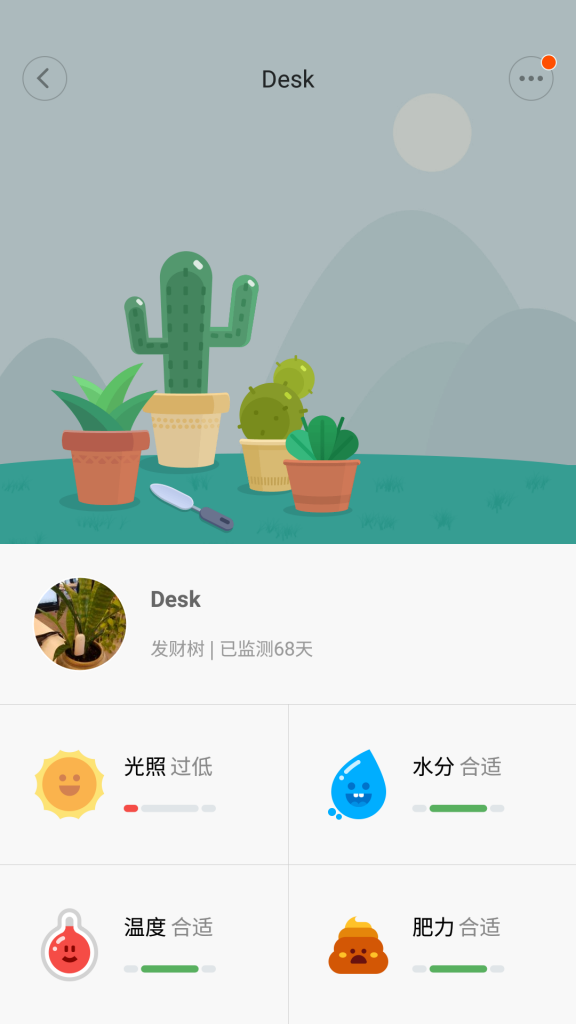
Step-by-step setup for the Xiaomi Plant Flower Care

Here’s a walkthrough for setting up the Xiaomi Plant Flower Care BLE device on an Android device.

  1. Unpack the device from the packaging
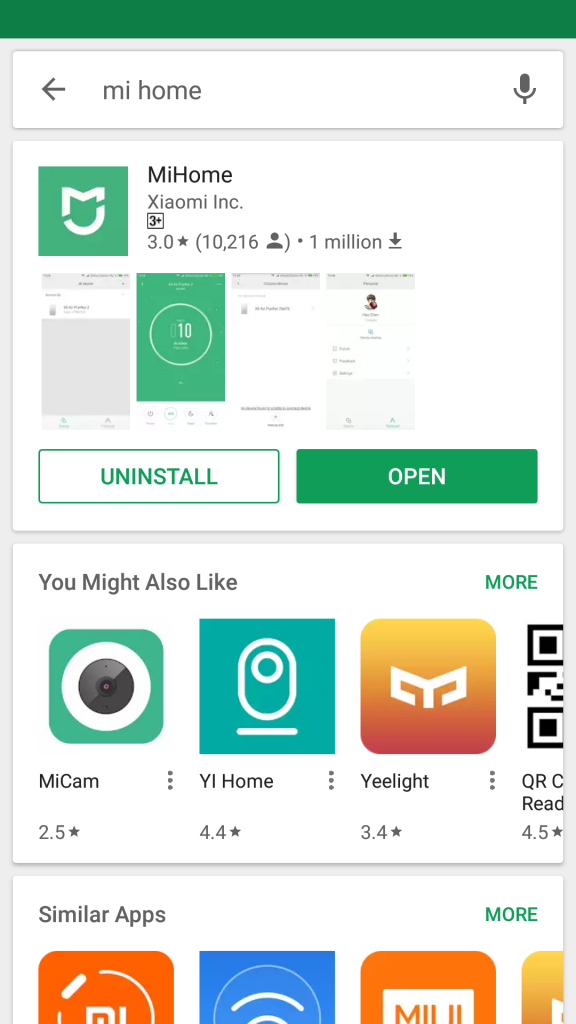
  2. Install the free Mi Home App (Google Play Store/iTunes App Store)
  3. Turn Bluetooth on your Android device
  4. Open the Mi Home App
  5. Sign in or create a new Mi Home account
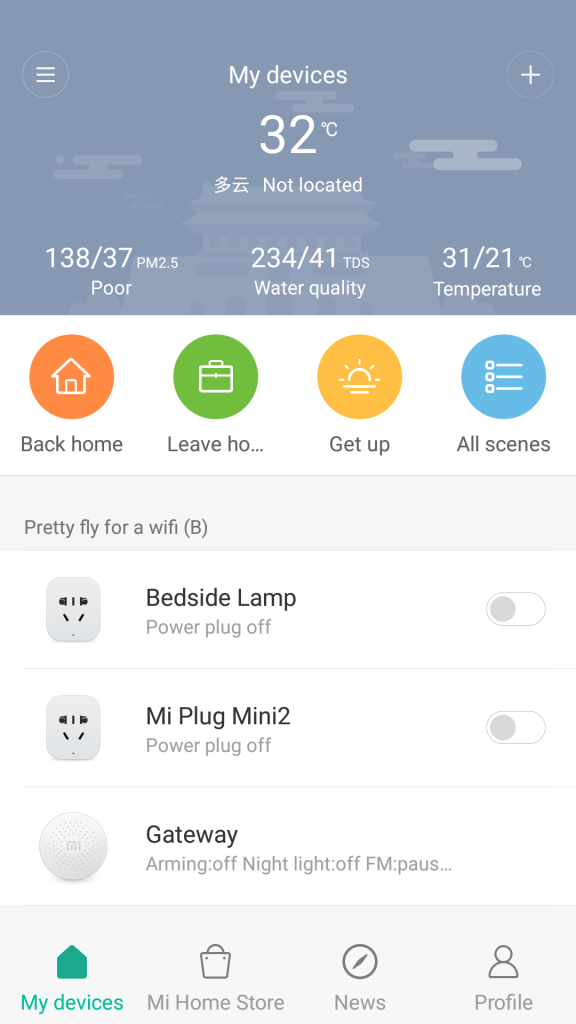
  6. From the opening My Devices screen click the top right “+” (plus) symbol
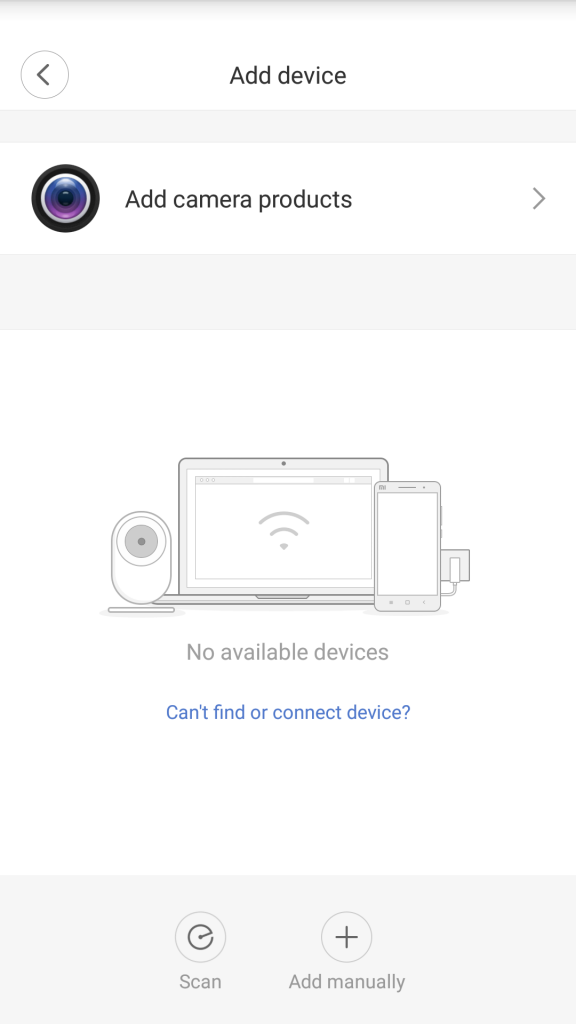
  7. Select “Add device” from the dropdown menu
  8. Pull the exposed plastic tab from the Xiaomi Plant Flower Care device to turn it on, if you have previously done this open the cover and unset/re-set the battery
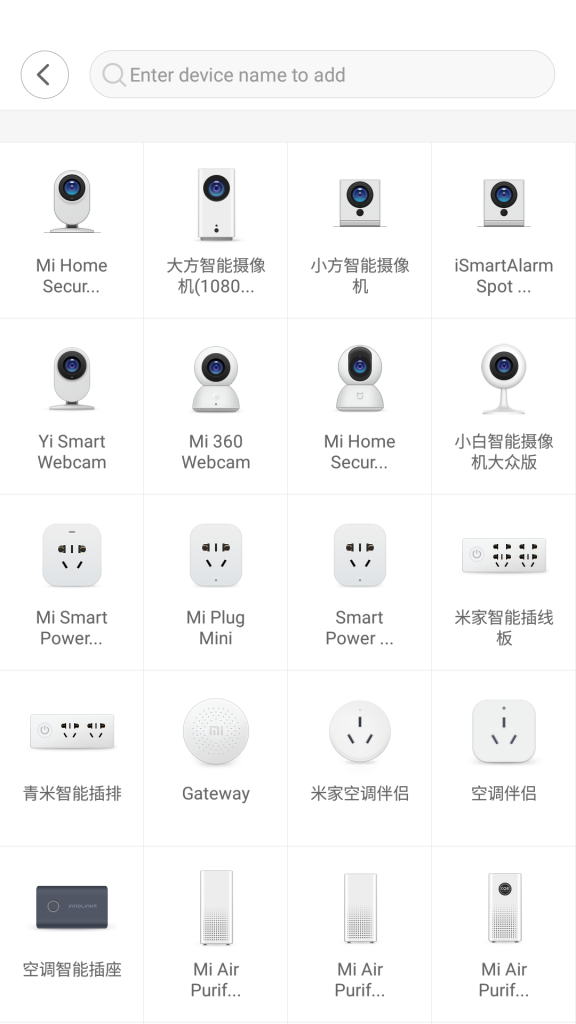
  9. When the “Flower care” device appears select it
  10. Wait while the Bluetooth connection is established and the latest device firmware is installed
  11. From the initial Devices tab select the Flower Care device

That’s it! You’re good to go!

Screenshots

Configuring WordPress after installing on Google Cloud Platform using Click to Deploy

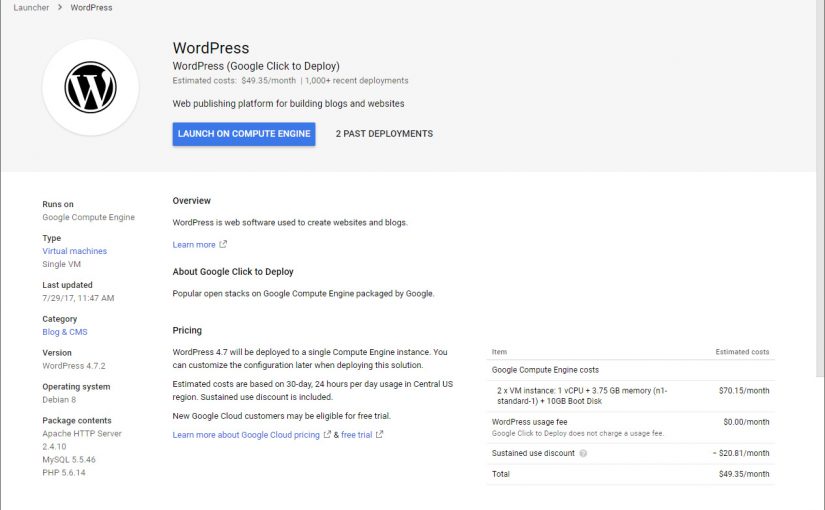
Following on from Fixing Installation Failed message on Bitnami WordPress and Google Cloud Compute Engine I recently tried installing WordPress within Google Cloud Platform using Google Click to Deploy.

As always the installation and initial setup is a breeze, open up Google Cloud Platform and within the search bar type in “WordPress”, one of the available options is called “WordPress – Click to Deploy”, select that then enter the following details:

  • Deployment name (this cannot be changed so think about it…)
  • Zone (where you want your instance to exist; us-west1-b is my favourite)
  • Machine Type (small 1 shared vCPU is plenty to start with and can be changed at any time without affecting site downtime)
  • Administrator E-mail (your e-mail address)
  • whether you want phpMyAdmin installed (if you’re using WordPress then this is very handy to have access to)
  • Disk type and size (Standard Persistent Disk and 10 GB is plenty to start with)
  • Automatic firewall rules for HTTP/HTTPS traffic (turn this on or you’ll need to do it later)

Then hit Click Deploy and away it goes, a minute or so later a set of logins are provided including a default admin WordPress User and login details, if phpMyAdmin was selected a default root User login is provided.

By default a dynamic IP is allocated to your WordPress instance so you’ll need to open Menu > Networking > External IP address and change the type to Static for persistent WordPress sites.

If you intend to manage your WordPress site via SFTP (FTP over SSH) then you’ll need to adjust your SSH user so that it can create and edit files within the base WordPress directory, to do this open the Google Cloud Shell within your WordPress instance by opening Menu > Compute Engine > VM Instances > under the Connect column beside your WordPress instance click SSH.

id
sudo useradd -G visser www-data

(replace visser with your SSH user name displayed when you enter id)

If the visser user already exists then you will need to do the following command instead:

id
sudo usermod -a -G www-data visser

Adjust the file permissions and ownership of wp-config.php within your base WordPress directory then create a new .htaccess file.

cd /opt/bitnami/apps/wordpress/htdocs/
sudo chown www-data wp-config.php
sudo chgrp www-data wp-config.php
sudo chmod 664 wp-config.php
sudo touch .htaccess
sudo chmod 664 .htaccess
sudo chown www-data .htaccess
sudo chgrp www-data .htaccess

Lastly let’s change the WordPress URL from the IP address allocated (e.g. http://35.197.92.168 to http://visser.io) and turn on Permalinks.

To change your WordPress URL open the WordPress Administration using the logins provided when your WordPress instance was created then open the Settings > General screen. Change only the WordPress Address (URL) field to your preferred URL – do not change the Site Address (URL) field – then hit Save Changes.

To enable Permalinks open up the General > Permalinks screen, within the Common Settings section change the radio button selector to Custom Structure and within the text input field paste the following (or your preferred Permalink structure):

/%year%/%monthnum%/%day%/%postname%/

Hit Save Changes to apply changes.

That’s it 🙂

Same site, minus the professionalism

Hi there, I’m setting up my new personal site to showcase my hobbies, interests and aspects of personal life that weren’t suitable on visser.com.au; now a dedicated storefront for Visser Labs and our free/Premium Plugins for WordPress.

I’ll be focusing on the following topics:

  • Random projects
  • Other random projects
  • Some more random projects

Jump over to the About page for more information or go straight to Tools.