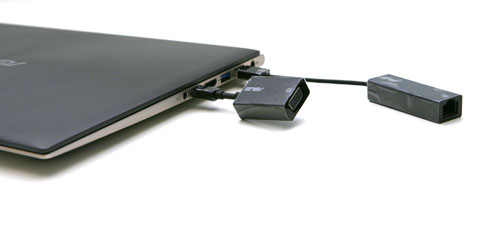
To resolve a power button failure issue on an old ASUS UX32VD I needed to update the BIOS via EZ-Flash which as would happen was password protected. The BIOS platform used on this particular model has a known rescue password list to allow access.
Category: ASUS UX32VD
ASUS UX32VD VGA output not working in Windows 10
Update: NVIDIA Intel HD Graphics Control Panel was to blame, see the bottom steps of this post for more information.
First day after upgrading from Windows 8.1 Home to Windows 10 Home on the ASUS UX32VD Ultrabook. First day, first problem: the VGA monitor output in Windows 10 isn’t working whilst the HDMI monitor output is in use; so this seems to be a driver issue.
Any other UX32VD users experiencing this? I’ll update this post as I troubleshoot (update NVIDIA GeForce software, reboot, uninstall/re-install drivers, reboot, etc.) and raise technical issues with ASUS Support.
Have updated to the latest NVIDIA GeForce drivers, rebooted, applied all Windows Updates, rebooted again.
At BIOS the VGA monitor comes alive then as Windows takes over the monitor powers down. Unplugging the HDMI connector from the UX32VD brings the VGA output back on – yay! – but re-connecting the HDMI output then powers the VGA output down again. Not yay…
Got it working! Blame the Intel HD Graphics Control Panel update that comes with Windows 10 that acts independent to the Windows system Display Settings.
Note: This fix may be limited to Intel HD Graphics 4000 or NVIDIA GeForce GT 620M users running Windows 10.
- Install the latest Intel HD Graphics Control Panel (as of August 2015) and NVIDIA Control Panel software packages
- Right click the Desktop and select Graphics Properties (with the Intel Control Panel icon)
- Once the Intel HD Graphics Control Panel window opens select the Display tab
- Next to the back arrow you should see Display with a down arrow beside it, click the Display title and select Multiple Displays. If you already have the Multiple Displays tab visible ignore this step
- From Select Display Mode select Extended Desktop to enable multiple monitors
- From Select One or More Active Displays use the drop-downs marked 1, 2, 3 to allocate the detected monitors; set the Primary Display as your main monitor
- Click Apply to save changes and enable the VGA output
That’s it! That third monitor should come to life and you can curse Intel for losing a morning’s productivity! Hope this helps someone. 🙂
Adding Multimedia Keyboard support to the ASUS Zenbook UX32VD
For reasons unknown ASUS decided to leave out multimedia keyboard mapping on its UX32VD model which doesn’t side well with Windows 7/8 users. This tutorial adds basic multimedia keyboard key mapping support – Play/Pause Track, Previous Track, Next Track – to Windows 8 and is not limited to just the above UX32VD model.
- Install AutoHotKey
- Add the following lines to your AutoHotKey.ahk script
#F10::Media_Play_Pause
#F11::Media_Prev
#F12::Media_Next
- Reload the hotkey script by right-clicking the AutoHotKey tray icon and selected Reload This Script
- Open Windows Music or Zune and play an album
- Hold down the Windows key and press F10 to pause the track, F11 to play the previous track and F12 to play the next track
Hey presto! Enjoy your new multimedia keyboard support.
Update: I tried remapping CTRL+Right Arrow without success, I suspect this is due to it already being mapped by Windows to ‘skip to next word in sentence’. Windows+% is good enough for me!

